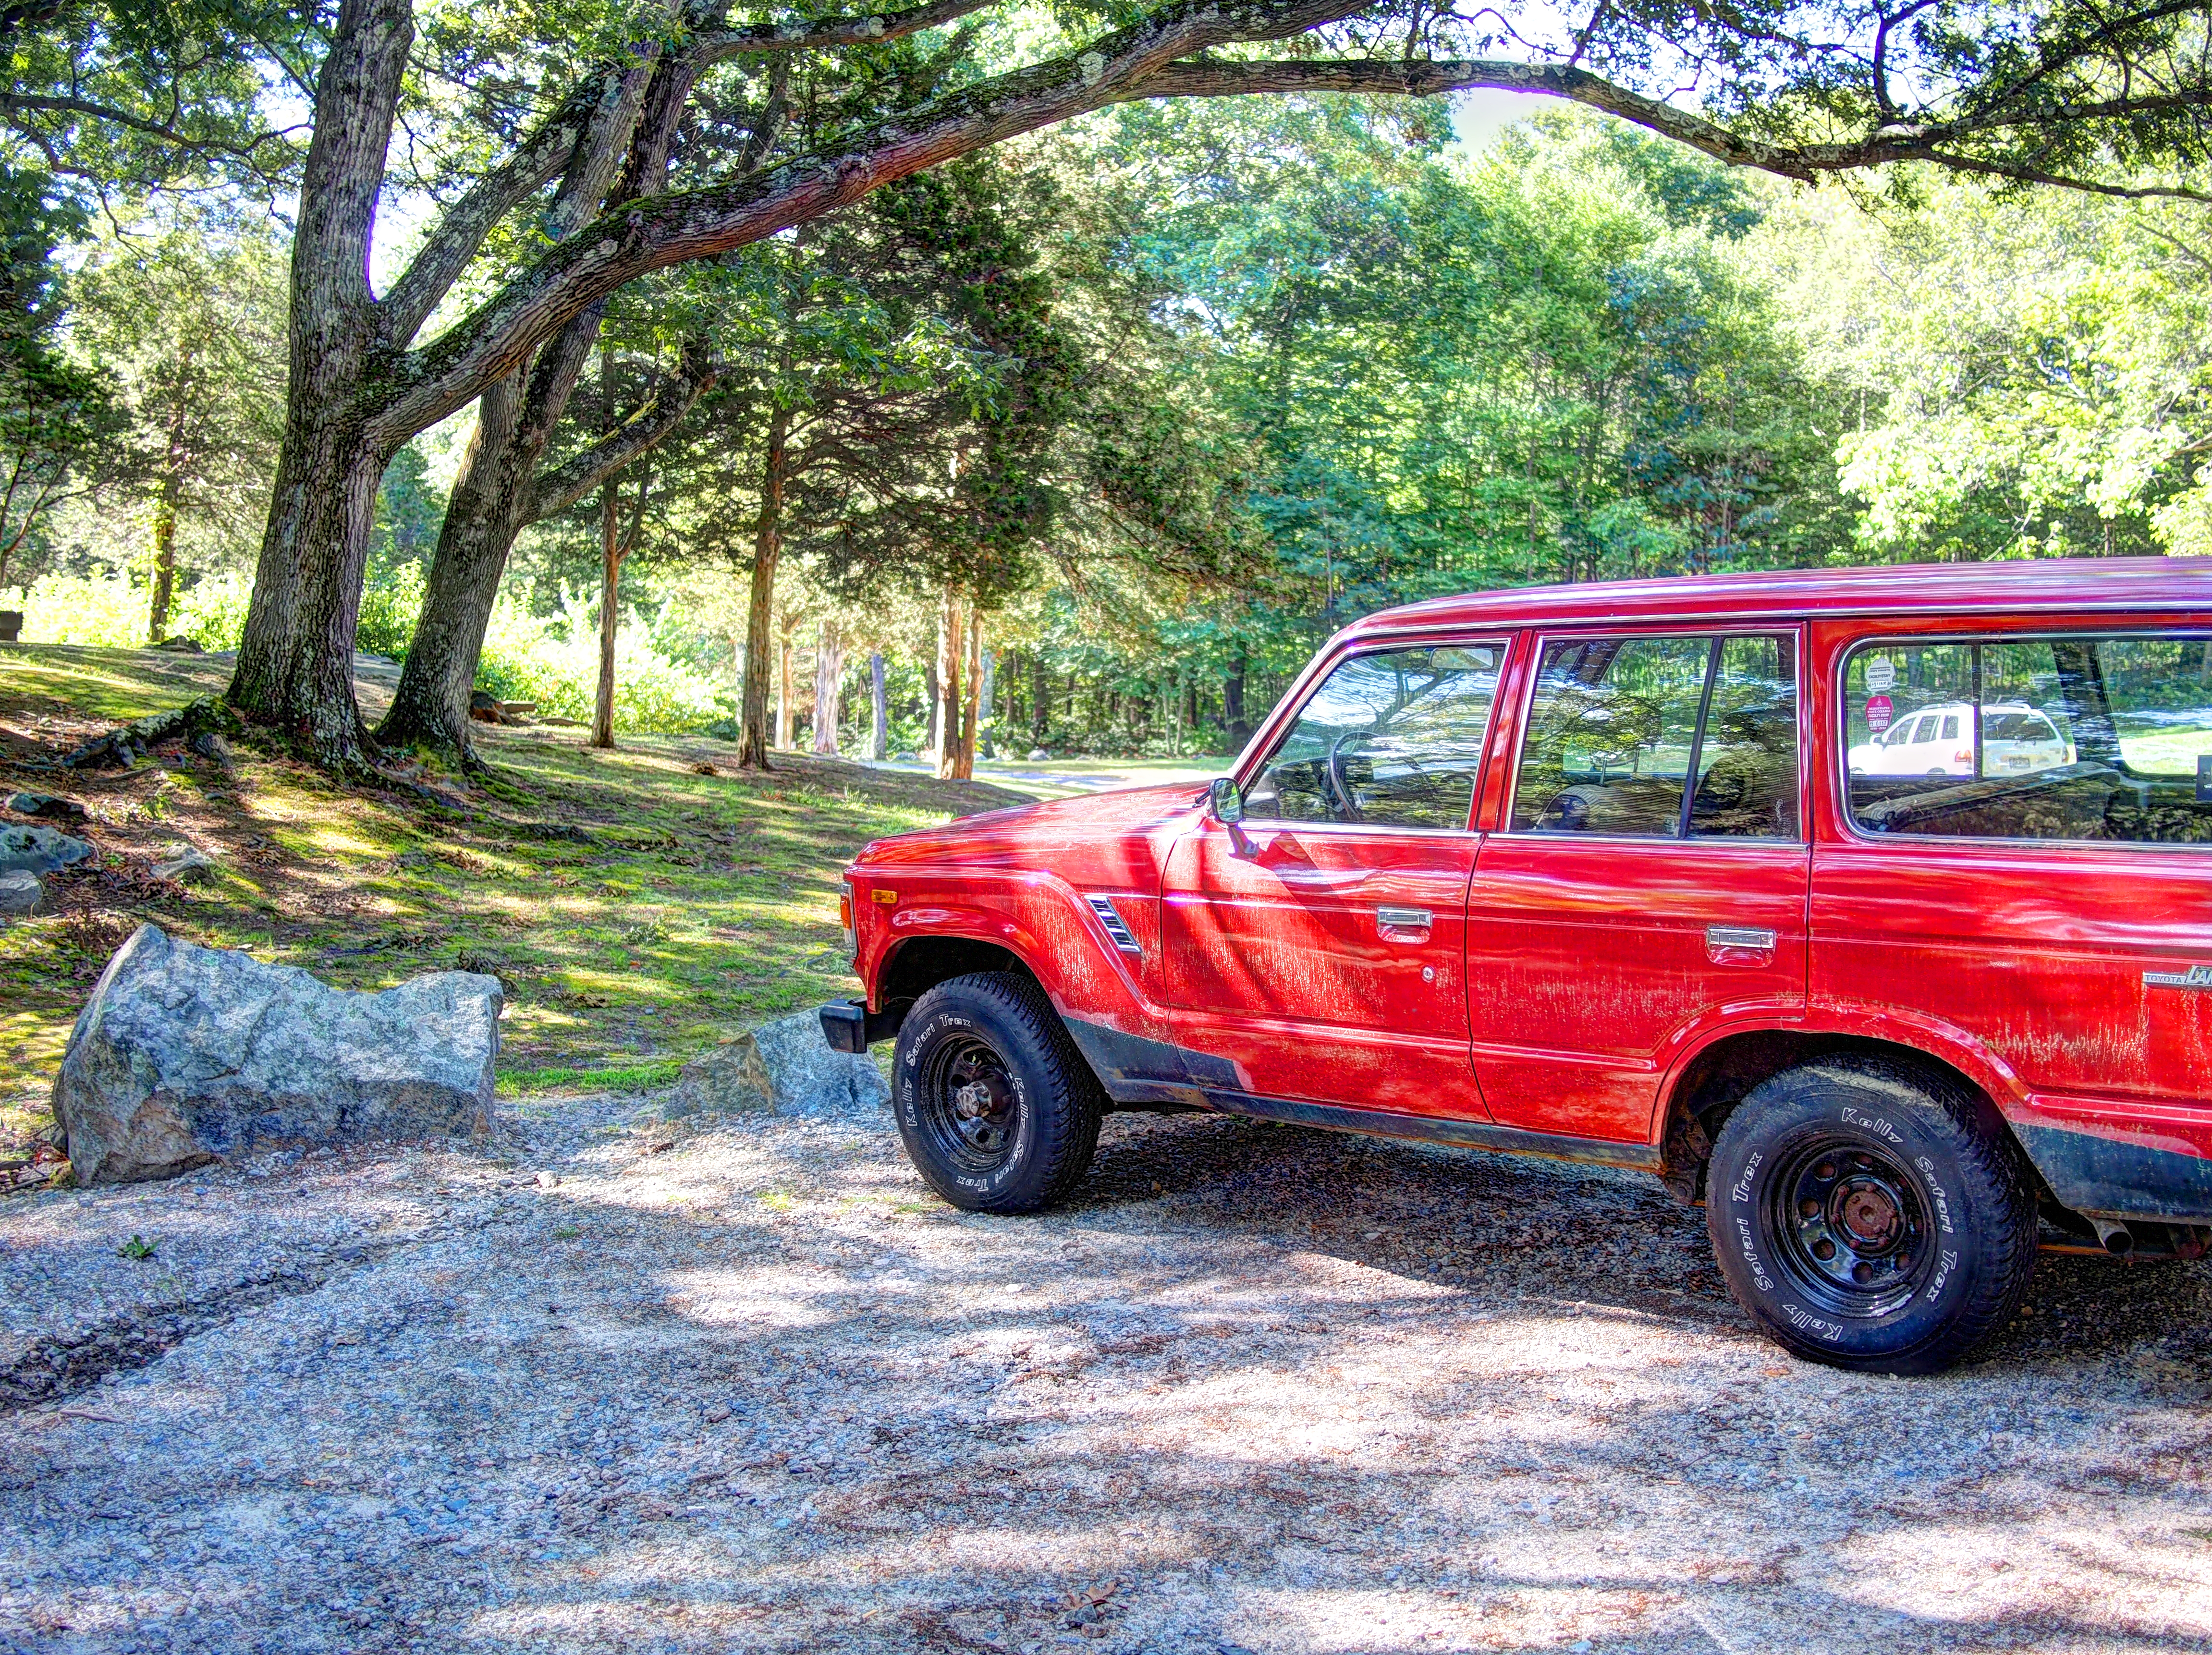
My first HDR photo (The Basics)
07 Jul 2014Have you ever tried to take a picture of someone in front of a bright window? You end up with a silhouette, a shadow in front of the window. The picture has none of the details of their face that you can see with your own eyes. As incredible as cameras have become, they still capture only a pale imitation of what we see with our own eyes. There are ways more faithfully capture our visual world. Stereoscopic (3-D) images and movies are in movie theaters everywhere. In this post we are going to discuss dynamic range and the problem of our silhouette in front of the window.
In photography, the term dynamic range is used to refer the luminance range that can be captured. Luminance is actually a somewhat complicated concept, but in short it is the brightness per unit area.
In our example of a friend in front of the window, we end up with a silhouette because the dynamic range of the image is much greater than the camera can capture in a single shot. The window is so bright that the camera cannot capture the dark regions appropriately. Our eyes have a huge dynamic range—approximately 14 f-stops or EVs (exposure value).
EVs are on a logarithmic scale (base 2) which means that that something increasing 1 EV means leaving the the shutter open for twice as long (with constant aperture). A range of 14 f-stops (or EV) then is equivalent a factor of $2^{14}$ or 16,384 in shutter speeds.
The aperture is simply the size of the hole letting light in when the shutter is open on a camera. A smaller f-number means a higher aperture (or a bigger hole).
A nice camera can be set to a wide range of f-stops, again typically with a range of 10-15, however when taking a picture it does so at a single EV, not over the entire range.
The basic idea behind HDR (high dynamic range) photography, then, is to take several pictures in quick succession at different EV values. Usually three photos are taken—one at the appropriate EV, one 2 EV too high (bright), and the last 2 EV too low (dark). These photos are then squeezed together in software to create a single picture. Areas that would have been to dark in the original photo, can be filled in from the too bright picture. Similarly, areas that were washed out in the original photo, can pull from the too dark image. Putting it all together you get something like the photo below (HDR then original for comparison):

For some really cool HDR photos check out Trey Ratcliff’s portfolio.
More coming in a future post on: (1) Details on how we actually combine the photos (2) Why HDR photos look a bit surreal.